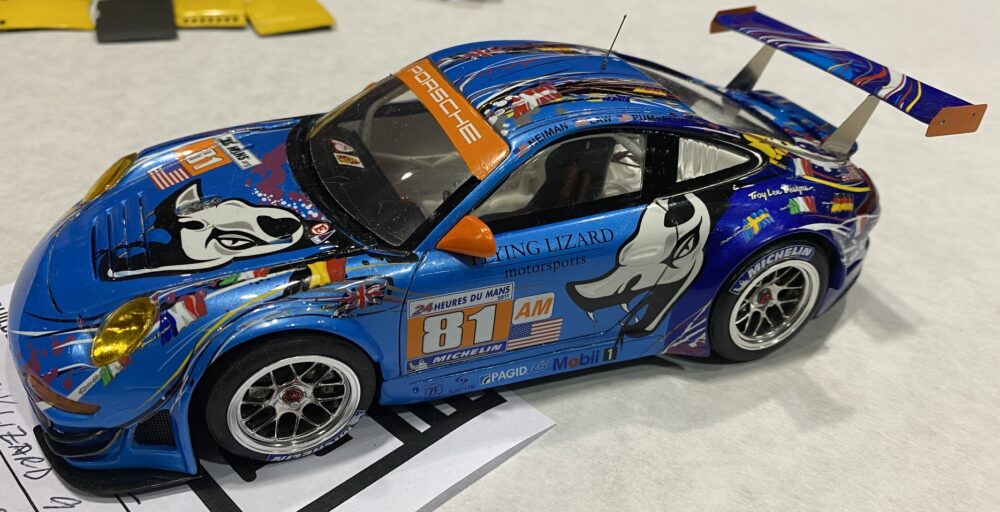
 Jagermeister Porsche 935 |
 Ferrari F310B Build Diary |
 Fujimi Ferrari 250 GTO |
Monthly Archives: January 2009
Jagermeister Porsche 935

1/12 Porsche 935 K3 Jagermeister
by Dale King
This 12th scale version of the Jagermeister 935 K3 is as it raced at Zolder in 1981. The various Kremer K3s were very successful, even winning Le Mans outright in 1979. I based this model on the Tamiya 1/12th Porsche 935 (kit no. 12038).

As I wanted the model to be displayed closed up I built it as a curbside .
It was difficult enough to create the exhaust and twin turbo set up but I really didn’t want to spend many additional hours building the new injection/intercooler system that sits on top of the engine as well.
I have too many 12th scale projects underway to make each one a full detailed model.


The interior has been heavily reworked as well, especially the area behind the driver. The work was done with resin, aluminum, brass, styrene, Lucite, Renshape and bondo over about a 4 year period. (as it is all the work on the interior really doesn’t show)

The front headlight covers were created by pulling heated clear sheet vinyl over bondo patterns. The headlight buckets were filled with bondo, the outside sanded down to the correct shape and then popped out. Then they were primered and polished before pulling the plastic over them. To finish them I carefully cut and sanded the edges until a near perfect shape was reached.

The paint is a custom mix by MCW (Fruehauf orange to be exact). After MANY coats of primer (sanded down between each coat) I painted the body with Tamiya orange as a base. I then shot on the MCW paint and after that Tamiya clear. I normally don’t clear coat but this time it seemed like a good idea.

The paint was allowed to cure for several weeks and then I rubbed it out with a series of Tamiya polishes. The decals are a combination of ones taken from the Tamiya 934, the CMW 956 and custom ones done in Illustrator on my Mac and printed up on special decal paper with my Canon ink jet. My own decals were gently clear coated with Krylon Crystal Clear, cut out close to the edges and then applied.

This beautiful 1/12th Tamiya model of the factory Porsche 935 was built by Pete Johnson using the Scale Motor Sport super detail transkit. It helps demonstrate the changes that were made on the Jagermeister K3.


Ferrari F310B – Part 1

1/20 Tamiya Ferrari F310B
Build Diary by Kevin J. Stewart
Many of you have asked, “Do you build anything? Ever?” And to answer that question, I have posted photos on the website of my past projects. But it’s been a long time since I finished a model. And I’ve been wanting to do a detailed build diary for some time, so here it is.
Planning, Prepping, and Painting
This kit is typical Tamiya, with parts molded in red and black.

The first stage of any project should be planning. Decide up front how you want to approach the build. Make your major choices first: What paint for the body color? Curbside or high-detail? What race version? Any special decals or upgrade parts needed?
Body Color
The Ferrari Red for the 1997 F1 team was a very bright red that combines the deepness of Italian Red with the flourescent bright red of the Marlboro race cars. The technique recommended to me by my friend John L. Roberts is to start with a base of TS-8 Italian Red and cover that with TS-36 Flourescent Red. I have seen this and agree it looks great, so that’s what I will use for this project.
Detail Level
I decided to try to detail this car at a light-upgrade level. I don’t plan to go crazy with wiring, plumbing, or A/N fittings though, because that would delay the project. Most of the detail work will be carbon-composite decals and detail painting.
Race Version
The Tamiya kit replicates and includes the markings for the 1997 French GP version. This is a non-smoke decal version, so the graphics are kind of boring and odd-looking, in my opinion. So the previous race in Canada is a good choice for this car with Marlboro markings, which I have in my collection.
A quick check of reference photos and race video confirms that the wings, fuel valve location, and camera locations are correct for the Canadian GP version. And the barge boards also look correct, so it seems the best choice.
Decals and Detail Parts
I have the correct Marlboro decals and a Perfect Parts PE upgrade set, and I will use those where needed.
Using the Instruction Sheet
I always use the instruction sheet in any model kit as a reference for painting and assembling the parts. It helps to go through the instruction sheet to find which parts should be a particular color and group them before painting sessions.
I also try to stay in sequence with the instructions for everything except wheels and tires, which can be completed any time. But otherwise I tend to stick with the order of assembly in the instructions and check off each assembly step as it’s completed.
Getting Started
After washing all of the kit parts and separating the body parts, I sprayed the red body parts with Tamiya white primer. I also sprayed the black parts with Tamiya TS-29, semi-gloss black. The semi-gloss black was applied as a primer at this stage, so that all the parts have a painted finish to start with.

Applying Color Coats
I have slowed down a bit on this project since starting it over a year ago, and the main reason was my inexperience with airbrushing. Although I’m pretty good with a spray can, I don’t like the mess and hassle of airbrushing. That will change as I get a better painting setup, but for now I will stick to spray cans.
I did decant some TS-8 and spray it on the body pieces using my Aztek airbrush. The result is here, and I’m happy with it so far.

I have several pieces left to paint, including the main body piece, and I will use spray cans for those.
Main Body Painting
There are a few steps to painting the main bodywork piece. First I sprayed the whole thing with white primer, then masked the outside and sprayed the inside with semi-gloss black.

The black areas on the outside result from my poor masking. Here’s a lesson to remember – always make your masking tight around holes and edges. It doesn’t need to look neat, but it has to cover tightly, especially when you’re using spray cans and you can’t keep the paint from seeping under the mask.
Here is the bodywork after masking the inside and re-priming the outside:

Next stage will be to gather all of the bodywork parts that need a base color coat and get them painted. While all this bodywork stuff is going on, I wanted to complete a part of the car, so I turned to the wheels and tires.

This is a shot I took of an F310 at Laguna Seca in 2004. The gold BBS wheels look just like this in period photos, so I used it as a guide for the F310B wheels.

This is a closeup print I have on my workbench.
For the wheels, I decided to use TS-21 gold with a TS-13 clear overcoat. This would give the wheels that reflective clear shine that the real ones have, while also adding depth to the gold.
First step was to take the wheels, already coated in semi-gloss black, and put on a good coat of gold. Here’s how they looked.

Although the gold is a nice metallic color, it’s a little flat, almost semi-gloss. After curing in the dehydrator, I sprayed the wheels with the TS-13 clear.

Now the wheels have the desired look. Here’s a closeup. The bubbles disappeared after a few minutes in the dehydrator, btw.

Mounting the tires is easy, as long as you gently push the rear of the wheel through the tire, protecting the face of the wheel from scratches and nicks.

All these wheels and tires need now are decals, wheel weights, and valve stems, which I will add later.

Here are the additional body parts, this time done using the spray can. I put the engine cover in the shot for comparison. The overall finish is the same between airbrush and spray can at this point, so I will continue using the spray cans.


Here is the main body part after TS-8 color coats and interior TS-29 coats. The light dusting of black under the fuel port is probably bleed through from previous paint sessions. I will fix that before adding more color coats.
The Seam
At some point in all projects you make compromises. I could see that there would be a seam in the main body piece, but it is along the bottom of the car and is not that noticeable. However, if I had it to do over again, I would assemble the body pieces and fill that seam before painting.

Adding Flouro-Red Coats
To complete the color combination for this car, I sprayed all the body parts with TS-36 Flourescent Red. The result is a good match for the bright-orangey Ferrari Marlboro Red.

Ah, the sweet smell of freshly-painted model parts cooking in the dehydrator . . .
That will do it for Part 1 of this build diary. In Part 2 we move on to complete most of the assembly of the F310B.
KJS
Fujimi Ferrari 250 GTO

1/24 Fujimi Ferrari 250 GTO
Kit Review and Accessory Guide
The Fujimi 250 GTO is the newest version of this classic 60’s racer, and so far it has received rave reviews.
“The Fujimi has the best body hands down. . . . The Fujimi body is even better than the Hiro, except for the rear spoiler area.” – Tom Tanner, Scale Designs
Even with that caveat, the Fujimi solves a major problem for 250 GTO builders: which kit to use. Before this kit, the existing choices all had major problems with the body shape.
The Fujimi kit comes in three flavors. No. 123370 is the first release that does not include the photo-etched details, while No. 123547 includes the photo-etch sheet.

And just announced for release this month is a decal variation that represents chassis no. 3445 (No. 123585):

I have seen some complaints about this being just a decal variation and not a more accurate representation of this car. But I think we’re lucky to get any versions at all in an injection molded kit, when resin kits are not necessarily more accurate and are five times the cost. Just my opinion . . .
Several detail sets were produced for this kit, but most of them are now sold out and out of production. These were all produced by KA Models of Korea for Fujimi. Hopefully these will be reissued, but I’m sure others will be produced. Here is a list of the detail sets produced to date:
Fujimi 111735 – Aluminum Wheel Set.
Fujimi 111595 – Photo-etch sheet and metal stickers.
KA Models KS-24002 – Deluxe Pack, includes above items plus turned aluminum intake funnels and exhaust pipes, and printed film for the instrument panel.
KA Models KC-24002 – Turned aluminum exhaust tip set.
For details of the kits and detail sets, see these sites:
For details of a build in progress, see the Automotive Forums build here:
http://www.automotiveforums.com/vbulletin/t917827.html