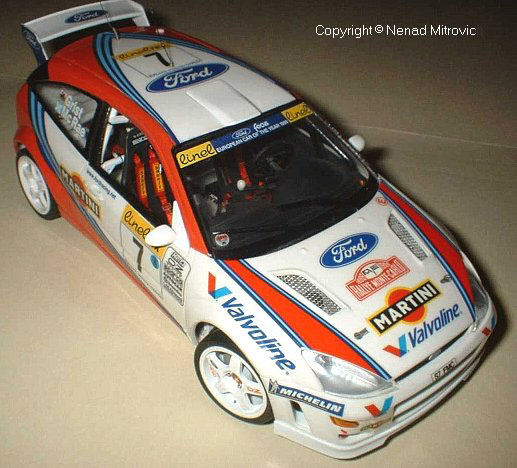
1/24 Ford Focus WRC
Model, Text, and Photos by Nenad Mitrovic
The base kit for this model is the 1999 Tamiya Ford Focus WRC. Straight out of the box, this is a great model. However, since I cannot build out of the box, I decided to add what I could and try to achieve the "Busy Look" of a works WRC. Follow along my guide to achieving this.
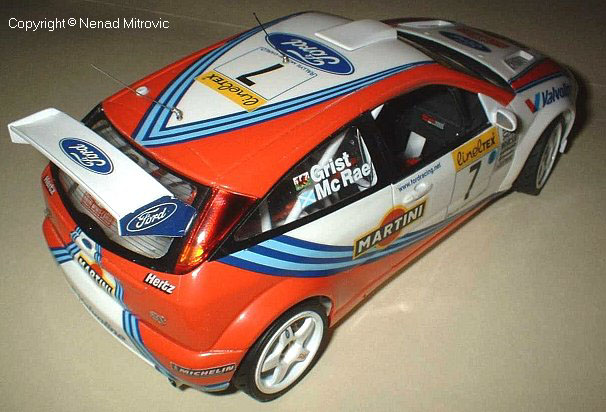
The instructions are very logical and well thought out, so I really did not deviate from them. I removed everything from the sprues, cleaned up all parts and mounted them. I primed everything with Automotive Primer, and then proceeded to do the detail painting.
For the body, the primer was rubbed back, washed and then airbrushed with Pure White Automotive lacquer (TS-26 Tamiya equivalent). Once dry, a template was made from a photocopy of the decal sheet and the red section was masked in. and painted with Bright Red Auto Lacquer (TS-49 Tamiya equivalent). Then after 15 mins drying time to allow the paint to set up, I removed the mask for a nice clean demarcation line. I lightly rubbed this down when dry to assist in the decaling process by removing a ridge between the colours. I clearcoated with Auto Lacquer clear and after drying proceeded onto decaling.
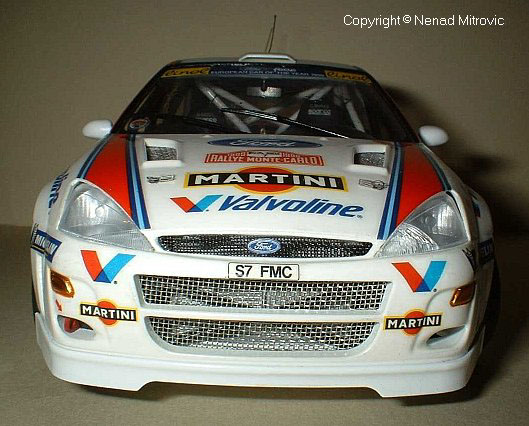
The decals went on quite nicely, however the striping over the rear boot area did pose a fit problem. I made my cuts in the recessed upper section, where it would not be readily visible. After drying, I mixed up two shades of blue and touched up the stripes. The Martini decals are translucent so, you might want to double up. I didn't have a second sheet handy at the time, and just kept going. Once the decals were dry, I rinsed of decal glue and setting solution, and allowed the decaled body to fully cure. When done, I clearcoated again, this time with enamels (Never again!). Once the clearcoat had dried, I polished with a DM polishing kit and rubbed it down with Tamiya polishing compound. Then I painted the trim and installed the window glass. The rear tailights was an experiment. I used BM foil for the silver backing applied to the recess. On the back of the taillights I poured in the red and orange clear (separately) using a brush. I rolled it around to dry uniformly, but I feel it gave a realistic depth of colour. This did require my attention whilst the paint was setting up, but it was worth it. The front indicators were BM foiled and clear orange was applied.
The Front intake (Black) was drilled and sanded out. To this I cut out some black mesh and applied it. The Ford logo is a decal applied to scrap of white plastic, and glued onto the grill. The Turbo inlet and engine cooling grills (on the bonnet) were made from wire mesh, as was the main front radiator inlet. Once the model was completed I added hood pins and Scratchbuilt the Antennae and bases. I added short lengths of wire into drilled holes on the rims to simulate valve stems.
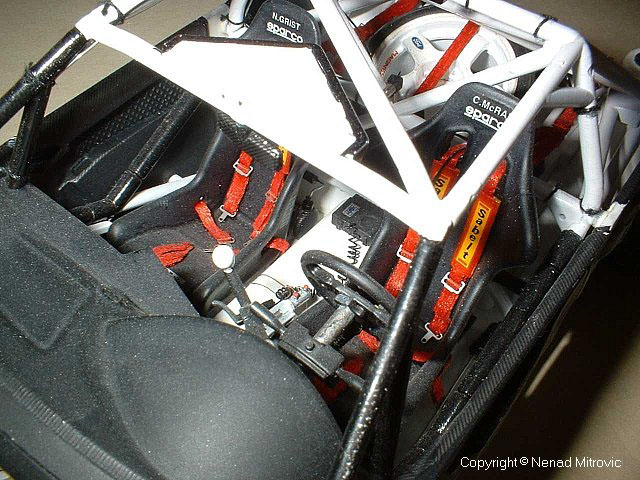
Back to the interior. I treated it to the full CF treatment. Boy was this hard work. The seats were done with some ribbon and Racing 43rd PE Hardware. The shoulder cushion is simply Tamiya tape painted red and folded around the belt and tacked down in the back with some CA. Then the Sabelt decal is applied with thinned down white glue. Once installed, they look nice. I looked at as many shots as I could of the Focus and through any auto catalogue for wiring information, and gave it my best shot. At least it looks reasonably busy.
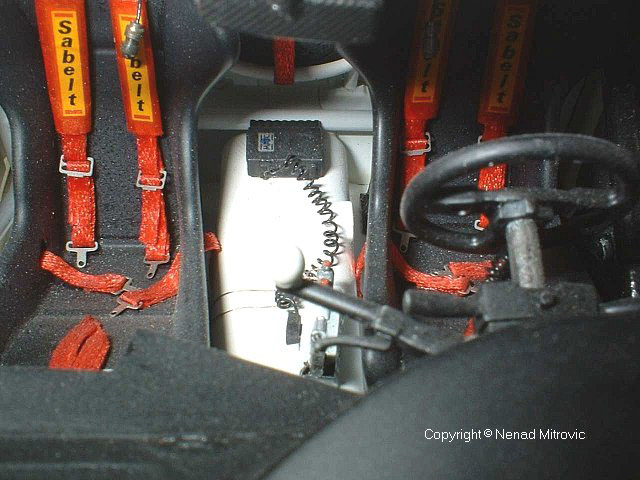
I scratchbuilt a rollbar camera and also the radio Jacks. I also scratchbuilt the two way radio and added wiring, which was simply DM spark plug wire rolled over a pin and stretch out realistically. I added brake bias lines using some copper wire. Wiring was also added to the steering wheel. The communications wiring running over the rollbars was DM wire.
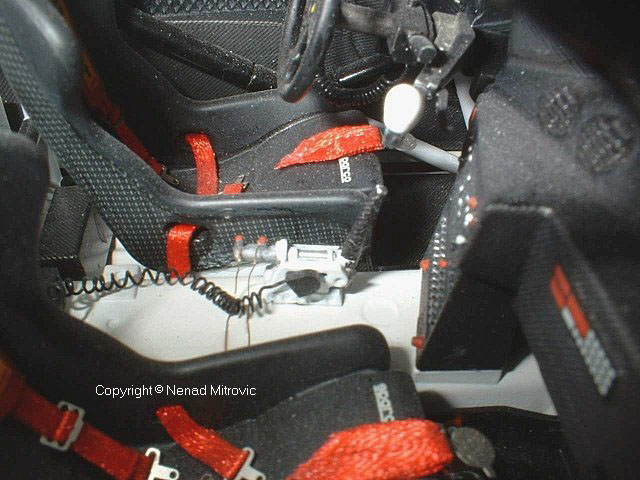
Tying up the wire with cotton thread simulated the plastic tie wraps, I sealed it at the knot with a dab of CA and then cut off excess. The cabin fire extinguisher reservoir located behind the seat was CF decaled and then fully wired as was the electrical diaphragm water pump (Used to spray water onto the turbo intercooler) located behind the driver's seat. Next to that is the battery box and that will also need the C/F treatment and some wiring back to the engine bay. I think that goes down the side of the transmission tunnel.
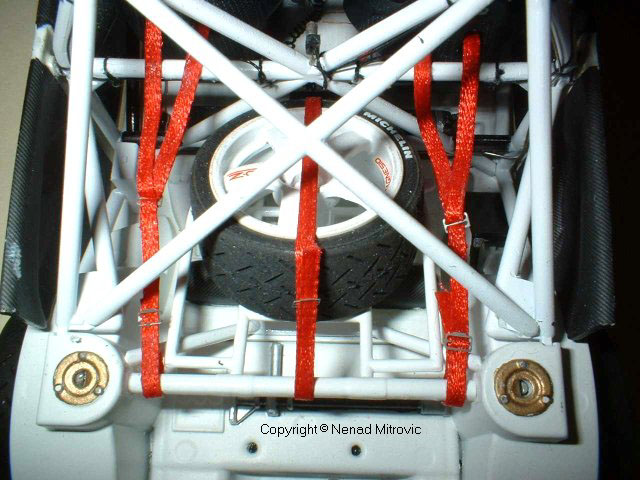
Summing up, this was a fun build and very satisfying to see it completed. I can honestly recommend these Tamiya kits for their ease of assembly and excellent construction. Enjoy your build. Of course I can pick faults with it and may want to replace some finished items, but I have learnt that a finished model is a good barometer to gauge one's progress through our evolution as a modeller. Without the signature faults of builds you will never know how much you improve through your modelling journey.